
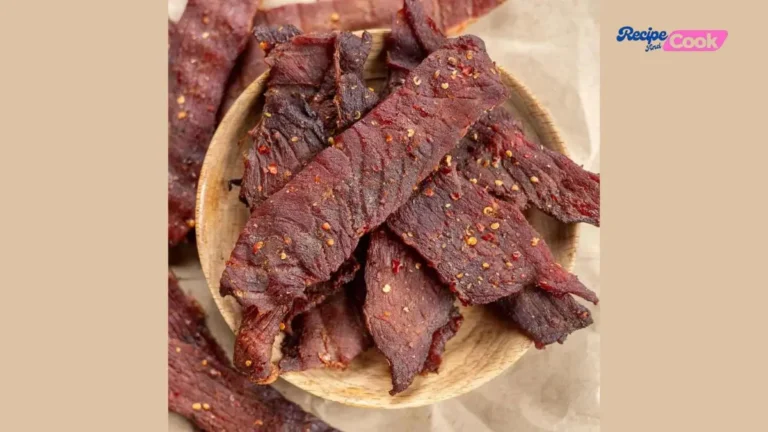
Creating the perfect dry rub jerky recipe at home has never been easier! Whether you’re craving that intense punch of spicy-sweet flavor or prefer a more mellow honey-soy marinade, this comprehensive guide will transform your kitchen into a jerky-making powerhouse. Gone are the days of expensive store-bought jerky that lacks flavor and costs a fortune.
This dry rub jerky recipe offers two distinct approaches: a hot and sweet dry rub method that delivers bold flavors immediately, and a honey-soy marinade version for those who enjoy deeper, more complex tastes. Both methods use simple oven-drying techniques, making this accessible to anyone without specialized equipment.
Perfect for snacking, meal prep, or gifting, this dry rub jerky recipe will become your go-to method for creating restaurant-quality jerky in the comfort of your own home. Let’s dive into these foolproof techniques that guarantee delicious results every single time!
My Personal Experience with This Dry Rub Jerky Recipe
I’ve been perfecting this dry rub jerky recipe for years, and let me tell you – it’s become an absolute game-changer in my kitchen. The first time I tried the hot and sweet dry rub method, I was blown away by how the flavors intensified during the drying process. That perfect balance of brown sugar sweetness with the kick of red pepper flakes creates an addictive combination that keeps you reaching for more.
What really sold me on this dry rub jerky recipe was its versatility. During a rainy weekend when I couldn’t fire up my outdoor smoker, I discovered that my regular oven produces equally impressive results. The low and slow cooking method at 160°F creates that perfect chewy texture I crave – not too dry, not too tough, but just right for immediate enjoyment.
The honey-soy marinade version of this dry rub jerky recipe offers a completely different but equally satisfying experience. The way the honey caramelizes slightly during the drying process while the soy sauce provides that umami depth is simply incredible. I often make both versions simultaneously because choosing between them feels impossible – each serves different moods and occasions perfectly.
Check more Jerky Recipes from below
Ingredients Required for This Dry Rub Jerky Recipe
For the Hot and Sweet Dry Rub:
- 1 tablespoon brown sugar
- 1 tablespoon cane sugar (or substitute with additional brown sugar)
- 1 tablespoon ground black pepper
- 1 teaspoon granulated garlic
- 1 teaspoon kosher salt
- 1 teaspoon red pepper flakes
For the Beef:
- 1 3/4 pounds top round (also sold as London broil)
- Alternative cuts: eye of round or any lean beef cut
Kitchen Utensils List
- Sharp knife for slicing meat
- Large cutting board
- 2 large mixing bowls
- Measuring cups and spoons
- Wire cooling racks (2-3 racks)
- Baking sheets to place under racks
- 2 large ziplock bags
- Small bowl with lid for dry rub mixing
- Whisk or mixing spoon
- Paper towels for patting meat dry
Preparation and Cooking Time
- Prep Time: 30 minutes
- Marinating Time: 8-12 hours (overnight)
- Cooking Time: 4-6 hours
- Total Time: 13-19 hours
- Servings: Makes approximately 8-10 servings
Dry Rub Jerky Recipe Instructions
Preparing the Meat:
- Chill the top round in the coldest part of your refrigerator for easier slicing
- Trim excess fat from the outside of the meat (fat spoils quickly)
- Square off one end of the meat for even slicing
- Cut the meat into 1/4-inch thick slices against the grain
Making the Hot and Sweet Dry Rub:
- Combine brown sugar, cane sugar, black pepper, granulated garlic, kosher salt, and red pepper flakes in a small bowl
- Secure the lid and shake vigorously until well mixed
- Place beef slices in a large bowl and sprinkle with dry rub
- Toss thoroughly to ensure all pieces are evenly coated
- Transfer to a ziplock bag and refrigerate overnight
Oven-Drying Process:
- Preheat oven to 160°F (170°F if your oven doesn’t go lower)
- Pat marinated beef dry with paper towels if excessively wet
- Arrange beef strips on wire racks placed over baking sheets
- Ensure pieces don’t overlap (slight touching is acceptable)
- Place racks in preheated oven
- Dry for 2 hours, then rotate rack positions
- Continue drying for 2-3 more hours until jerky bends without breaking
- Remove from oven and cool for 20 minutes before storing
Storage Guidance for Your Dry Rub Jerky Recipe Leftovers
Store your finished dry rub jerky recipe in ziplock bags in the refrigerator for optimal freshness and texture. This method keeps the jerky with perfect chewiness for 4-5 days maximum. Since this recipe is designed for quick consumption rather than long-term preservation, refrigeration maintains the ideal moisture content while preventing spoilage.
Serving Ideas for Your Dry Rub Jerky
- Trail Mix Enhancement: Chop your dry rub jerky recipe into bite-sized pieces and mix with nuts, dried fruits, and dark chocolate chips for an elevated hiking snack that provides sustained energy and incredible flavor.
- Jerky Caesar Salad: Transform your dry rub jerky recipe into gourmet salad protein by tearing pieces over crisp romaine lettuce with parmesan cheese, creating a unique twist on the classic Caesar that adds smoky, spicy notes.
- Breakfast Hash Addition: Dice your dry rub jerky recipe and fold into morning hash browns with peppers and onions, then top with fried eggs for a protein-packed breakfast that brings bold flavors to your morning routine.
- Charcuterie Board Star: Feature your dry rub jerky recipe as the centerpiece of an artisanal charcuterie board alongside aged cheeses, crackers, and pickled vegetables for an impressive appetizer spread that showcases homemade quality.
- Ramen Topping: Slice your dry rub jerky recipe thinly and use as a premium ramen topping alongside soft-boiled eggs and scallions, elevating instant noodles into a restaurant-quality meal with incredible depth of flavor.
Essential Tips for Perfect Dry Rub Jerky Recipe Results
- Temperature Control Mastery: Maintain your oven temperature at 160°F throughout the entire dry rub jerky recipe process – higher temperatures will cook the meat too quickly, resulting in tough, overcooked jerky instead of the perfect chewy texture you’re aiming for.
- Strategic Fat Trimming: Remove excess external fat from your meat before starting this dry rub jerky recipe, but don’t obsess over small marbled pieces since you’ll consume this jerky within days – the fat actually adds incredible flavor and richness to the final product.
- Slice Consistency Matters: Cut all pieces to the same 1/4-inch thickness for your dry rub jerky recipe to ensure even drying times – inconsistent thickness leads to some pieces being overdried while others remain underdone, compromising the entire batch quality.
- Rotation for Even Results: Rotate your racks every 2 hours during the dry rub jerky recipe drying process to compensate for oven hot spots and ensure uniform dehydration across all pieces, preventing some from becoming too dry while others remain chewy.
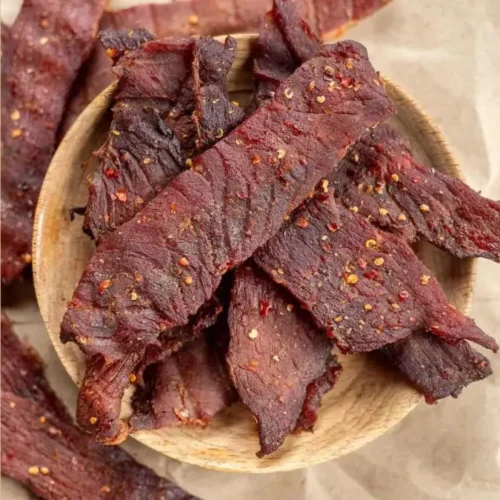
- Bend Test for Doneness: Your dry rub jerky recipe is perfectly done when pieces bend without breaking but show slight tearing at the bend point – this indicates optimal moisture content for immediate consumption and refrigerator storage.
This comprehensive dry rub jerky recipe delivers restaurant-quality results using simple ingredients and basic kitchen equipment. Whether you choose the bold hot-and-sweet dry rub or the complex honey-soy marinade, you’ll create jerky that surpasses expensive store-bought alternatives.
The beauty of this method lies in its accessibility – no special equipment required, just your regular oven and patience for the slow-drying process that develops incredible flavors.
Ready to transform your snack game forever? Gather your ingredients and start your dry rub jerky recipe journey today!
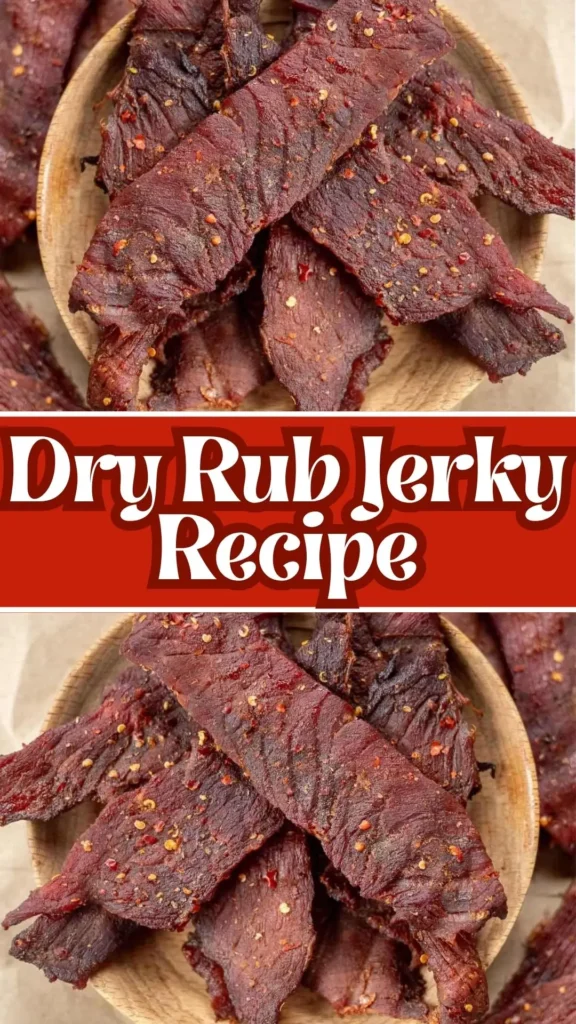
Dry Rub Jerky Recipe
Ingredients
- 1 tablespoon brown sugar
- 1 tablespoon cane sugar or substitute with additional brown sugar
- 1 tablespoon ground black pepper
- 1 teaspoon granulated garlic
- 1 teaspoon kosher salt
- 1 teaspoon red pepper flakes
- 1 3/4 pounds top round also sold as London broil
- Alternative cuts: eye of round or any lean beef cut
Instructions
- Chill the top round in the coldest part of your refrigerator for easier slicing
- Trim excess fat from the outside of the meat (fat spoils quickly)
- Square off one end of the meat for even slicing
- Cut the meat into 1/4-inch thick slices against the grain
- Combine brown sugar, cane sugar, black pepper, granulated garlic, kosher salt, and red pepper flakes in a small bowl
- Secure the lid and shake vigorously until well mixed
- Place beef slices in a large bowl and sprinkle with dry rub
- Toss thoroughly to ensure all pieces are evenly coated
- Transfer to a ziplock bag and refrigerate overnight
- Preheat oven to 160°F (170°F if your oven doesn’t go lower)
- Pat marinated beef dry with paper towels if excessively wet
- Arrange beef strips on wire racks placed over baking sheets
- Ensure pieces don’t overlap (slight touching is acceptable)
- Place racks in preheated oven
- Dry for 2 hours, then rotate rack positions
- Continue drying for 2-3 more hours until jerky bends without breaking
- Remove from oven and cool for 20 minutes before storing
Video
Notes
Frequently Asked Questions About This Dry Rub Jerky Recipe
Here, we’ve got you covered with some common questions about this recipe that people often asked.
Q1: Can I use different cuts of meat for this dry rub jerky recipe besides top round?
Absolutely! While top round (London broil) works excellently for this dry rub jerky recipe, you can substitute eye of round, bottom round, or any lean beef cut. The key is choosing cuts with minimal fat marbling and good muscle fiber structure that will hold up during the drying process.
Q2: How do I know when my dry rub jerky recipe is properly dried and ready?
Your dry rub jerky recipe is perfectly done when the meat bends without breaking but shows slight tearing or cracking at the bend point. It should feel leathery but not brittle, and there should be no visible moisture when you bend it. This typically takes 4-6 hours at 160°F.
Q3: Can I make this dry rub jerky recipe for long-term storage instead of refrigerator storage?
Yes, but you’ll need to modify the drying time for this dry rub jerky recipe. For shelf-stable jerky, continue drying until pieces snap when bent rather than just tearing. This requires 6-8 hours typically, and you must remove ALL visible fat from the meat before starting the process.
Q4: What should I do if my oven doesn’t go as low as 160°F for this dry rub jerky recipe?
If your oven’s lowest setting is 170°F, this dry rub jerky recipe will still work perfectly – just check your jerky 30 minutes earlier than recommended. For ovens that only go down to 180°F or higher, prop the oven door slightly open with a wooden spoon to reduce internal temperature.
Q5: How can I adjust the spice level in this dry rub jerky recipe?
To reduce heat in this dry rub jerky recipe, decrease red pepper flakes to 1/2 teaspoon or omit entirely. For more heat, add cayenne pepper (start with 1/4 teaspoon) or increase red pepper flakes to 2 teaspoons. The honey-soy marinade version can be spiced up with sriracha or chili garlic sauce.
Q6: Can I double or triple this dry rub jerky recipe for larger batches?
Definitely! This dry rub jerky recipe scales perfectly. Just ensure you have enough wire racks and oven space to maintain proper air circulation around all pieces. You may need to rotate racks more frequently with larger batches to ensure even drying throughout.
Q7: Why does my dry rub jerky recipe sometimes turn out too salty?
Over-salting in this dry rub jerky recipe usually occurs from using table salt instead of kosher salt, or from not patting marinated meat dry before oven-drying. Always use kosher salt as specified, and remove excess marinade with paper towels to prevent concentrated saltiness in the final product.
Additionally, You can also like and, follow us on Pinterest, and Reddit for more updates. Your thoughts and engagement are greatly appreciated!
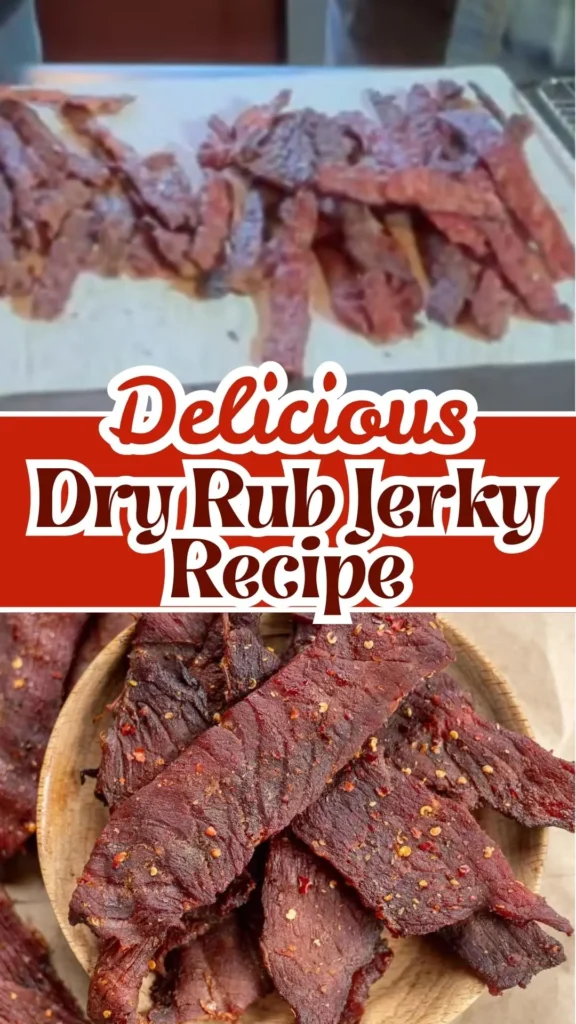
Delicious