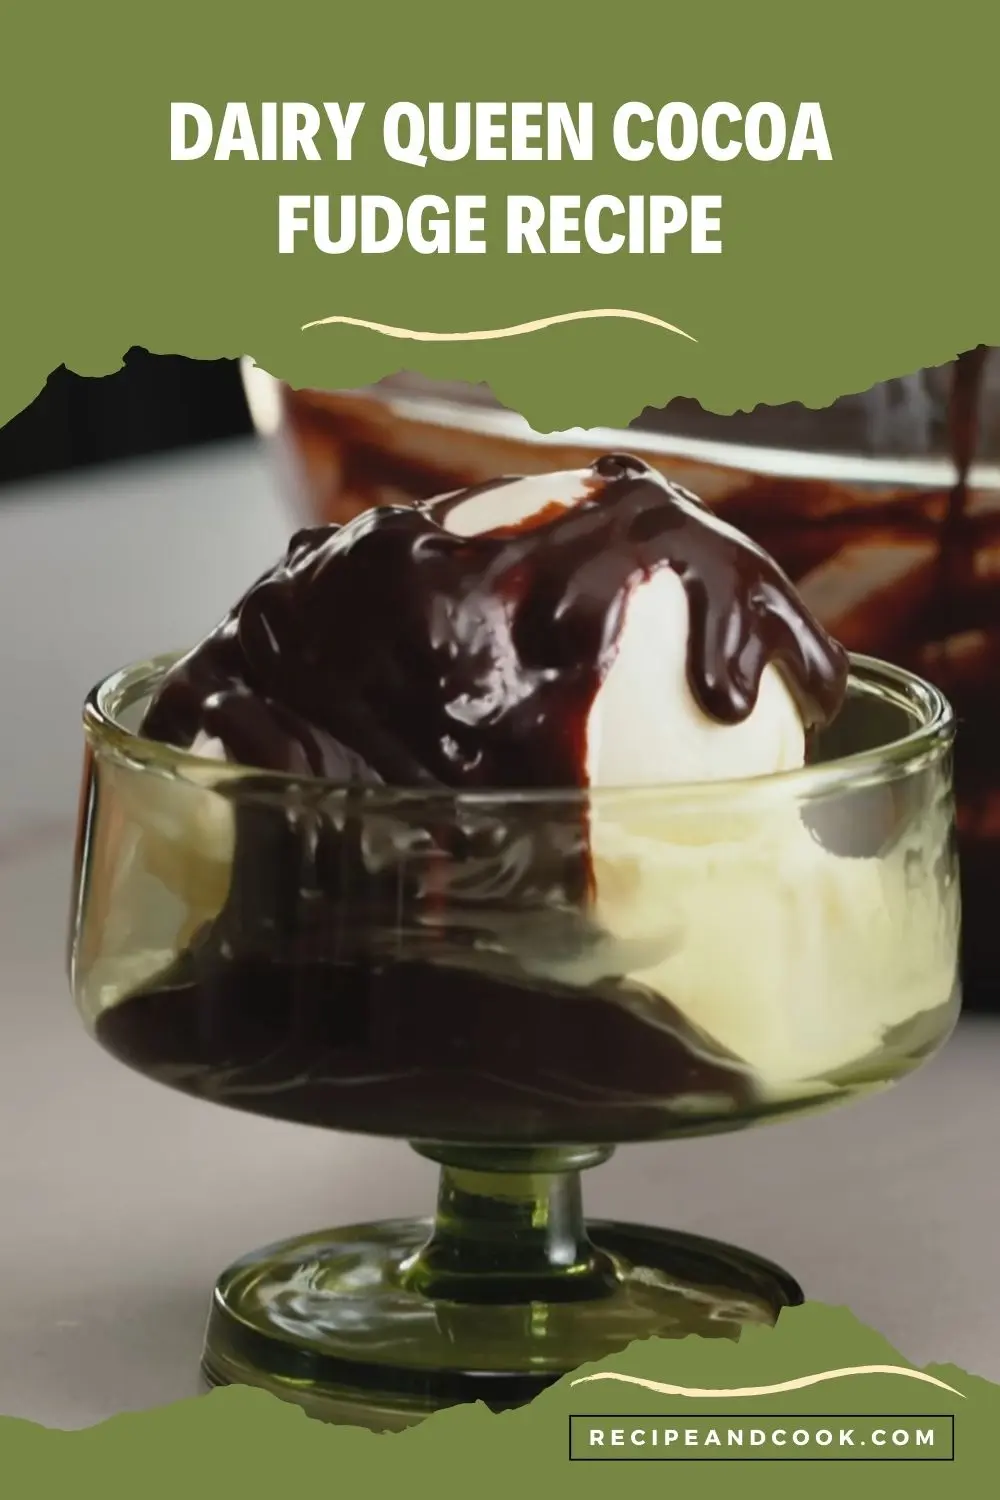
If you’re a fan of the rich, creamy cocoa fudge at Dairy Queen, you’re in for a treat! Just like the other Dairy Queen Hot Fudge Recipe, today we are going to create the copycat version of Dairy Queen Cocoa Fudge Recipe.
This homemade version captures the same decadence and flavor, and the best part? You can make it right in your kitchen with just a few ingredients and tools. Let’s dive into this simple yet delicious recipe.
What Does Dairy Queen Cocoa Fudge Taste Like?
Dairy Queen Cocoa Fudge is a decadent treat that combines the richness of cocoa with a velvety, melt-in-your-mouth texture. Its flavor is an irresistible balance of deep, chocolatey goodness and creamy sweetness, making it a perfect indulgence for chocolate lovers.

The addition of buttery notes enhances its smoothness, while the subtle crunch of pecans adds a delightful contrast. Each bite delivers a comforting, homemade taste with a touch of nostalgia. Whether enjoyed on its own or as part of a dessert topping, Dairy Queen Cocoa Fudge is a luxurious blend of simplicity and indulgence, capturing the essence of classic fudge.
Ingredients Required for Dairy Queen Cocoa Fudge Recipe
Here’s the list of Ingredients you’ll need to make this
- 1 cup of real cocoa powder
- 1 cup of sugar
- ½ cup of milk
- ¼ cup of butter
- 1 teaspoon of vanilla extract
- 1 cup of chopped pecans
Kitchen Utensil You’ll Need
- Saucepan
- Wooden or silicone spatula
- Measuring cups and spoons
- 9×13 inch baking dish
- Grease or parchment paper
- Sharp knife for cutting
Preparation Time: 10 minutes
Cooking Time: 15 minutes
How to Make Dairy Queen Cocoa Fudge
Simply follow the steps given below to make your Copycat Dairy Queen Cocoa Fudge at home
Step 1: Combine Ingredients
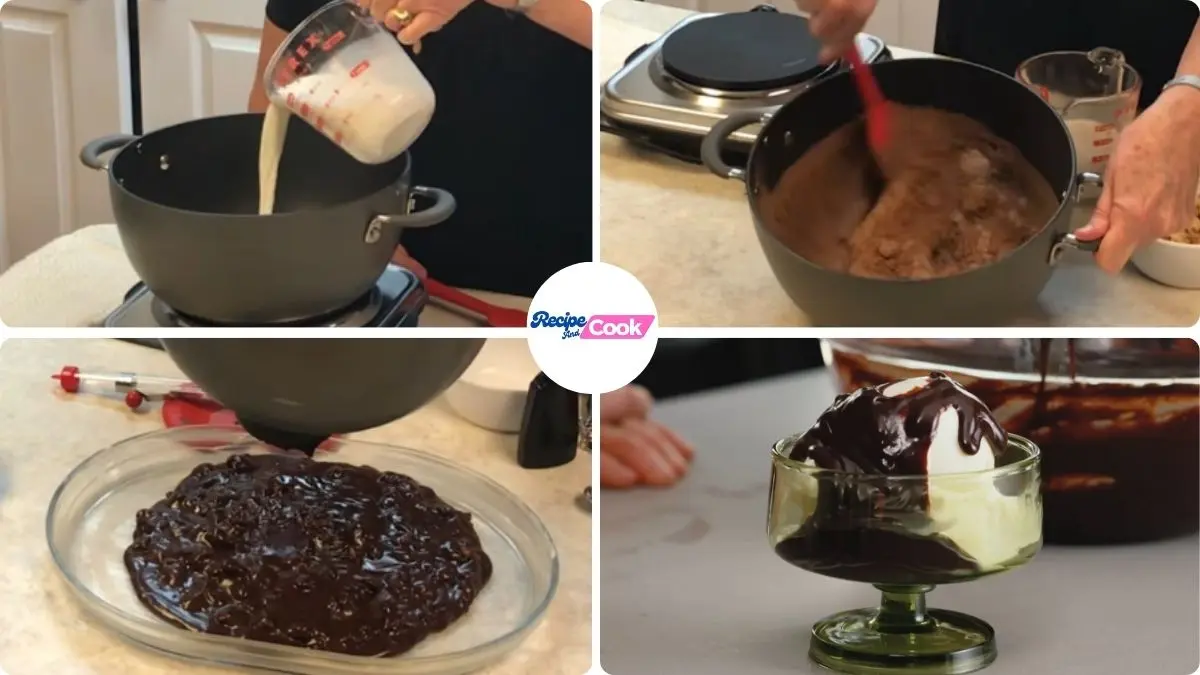
In a medium-sized saucepan, combine the cocoa powder, sugar, milk, and butter. Stir everything together over low heat. The mixture will look thick at first, but as the butter melts, it will become smoother.
Step 2: Cook the Mixture
Keep the saucepan over low heat, stirring frequently to prevent burning. Gradually bring the mixture to a boil. Be patient—this step ensures a smooth and creamy fudge consistency.
Step 3: Add Vanilla and Pecans
Once the mixture reaches a rolling boil, remove the saucepan from the heat. Stir in the vanilla extract for a boost of flavor, followed by the chopped pecans for a nutty crunch. Mix thoroughly so the pecans are evenly distributed.

Step 4: Set the Fudge
Pour the fudge mixture into a greased 9×13 inch baking dish. Smooth out the surface using a spatula. Let the fudge cool completely at room temperature.
Step 5: Cut and Serve
Once cooled and set, use a sharp knife to cut the fudge into squares. Serve these delightful treats to family and friends, or enjoy them as a sweet indulgence for yourself!
Some Tasty Ways To Customize and Serve This Dairy Queen Cocoa Fudge
Classic Dessert Plate: Serve fudge squares alongside a scoop of vanilla ice cream for a decadent dessert.
Gift Boxes: Wrap individual pieces in wax paper and arrange them in a decorative box for a thoughtful gift.
Coffee Pairing: Enjoy fudge squares with a freshly brewed cup of coffee or espresso.
Holiday Treats: Place on a festive platter with cookies and other holiday sweets.
Ice Cream Topping: Crumble fudge over your favorite ice cream for extra richness.
S’mores Upgrade: Swap chocolate bars with fudge squares for an indulgent twist on s’mores.
Lunchbox Surprise: Pack a square in a lunchbox for a midday pick-me-up.
Party Favor Bags: Wrap pieces individually and give them as party favors at gatherings.
Brownie Enhancement: Dice fudge and fold it into brownie batter before baking.
Milkshake Add-In: Blend a square into a milkshake for an extra chocolatey flavor boost.
Some Tips on This Dairy Queen Cocoa Fudge Recipe
Use High-Quality Cocoa Powder
Opt for premium, unsweetened cocoa powder to ensure rich flavor and smooth texture.
Stir Constantly
While cooking the mixture, stir continuously to avoid lumps or burning at the bottom of the saucepan.
Control the Heat
Keep the heat low to medium while boiling to prevent scorching and maintain a creamy consistency.
Butter Matters
Use real butter, not margarine, for the best flavor and texture in your fudge.
Measure Precisely
Accurate measurements are key to achieving the right consistency and taste.
Prep the Baking Dish
Grease the 9×13 inch dish well or line it with parchment paper for effortless removal and easy cleanup.
Cool Gradually
Allow the fudge to cool at room temperature for the best texture; avoid refrigerating it immediately.
Customize the Nuts
Swap pecans with walnuts, almonds, or hazelnuts, or leave them out entirely for a smooth fudge.
Add a Pinch of Salt
A tiny pinch of salt enhances the sweetness and brings out the chocolate flavor.
Experiment with Toppings
Top your fudge with sprinkles, shredded coconut, or a drizzle of melted chocolate for added flair and flavor.
How to Store Dairy Queen Cocoa Fudge Properly?
To store Dairy Queen Cocoa Fudge, place the cooled fudge squares in an airtight container, separating layers with parchment paper to prevent sticking. Keep the container at room temperature for up to one week.
For longer storage, refrigerate the fudge for up to three weeks or freeze it for up to three months. Thaw frozen fudge at room temperature before serving.

Dairy Queen Cocoa Fudge Recipe
Ingredients
- 1 cup of real cocoa powder
- 1 cup of sugar
- ½ cup of milk
- ¼ cup of butter
- 1 teaspoon of vanilla extract
- 1 cup of chopped pecans
Instructions
- In a medium-sized saucepan, combine the cocoa powder, sugar, milk, and butter. Stir everything together over low heat. The mixture will look thick at first, but as the butter melts, it will become smoother.
- Keep the saucepan over low heat, stirring frequently to prevent burning. Gradually bring the mixture to a boil. Be patient—this step ensures a smooth and creamy fudge consistency.
- Once the mixture reaches a rolling boil, remove the saucepan from the heat. Stir in the vanilla extract for a boost of flavor, followed by the chopped pecans for a nutty crunch. Mix thoroughly so the pecans are evenly distributed.
- Pour the fudge mixture into a greased 9×13 inch baking dish. Smooth out the surface using a spatula. Let the fudge cool completely at room temperature.
- Once cooled and set, use a sharp knife to cut the fudge into squares. Serve these delightful treats to family and friends, or enjoy them as a sweet indulgence for yourself!
Video
Notes
Common Queries on This Dairy Queen Cocoa Fudge Recipe
Here, we’ve got you covered with some common questions about the Dairy Queen Cocoa Fudge Recipe that people often ask.
1. What is cocoa fudge at Dairy Queen?
Cocoa fudge at Dairy Queen is a rich, thick, chocolatey topping or filling made with real cocoa, often used in sundaes and other desserts to add a decadent flavor.
2. What is Dairy Queen hot fudge made of?
Dairy Queen’s hot fudge is typically made from a combination of cocoa, sugar, butter, milk, and vanilla. It’s heated to create a smooth and creamy sauce for their desserts.
3. What’s the difference between chocolate syrup and chocolate fudge?
Chocolate syrup is thinner and often used as a topping or mix-in for drinks, while chocolate fudge is thicker, richer, and more concentrated, ideal for baking or as a chewy dessert.
4. What is chocolate fudge made of?
Traditional chocolate fudge is made from cocoa powder or melted chocolate, sugar, milk, and butter. It’s cooked until thickened and then cooled to create a firm but creamy texture.
5. Can I make this recipe without nuts?
Yes, you can skip the pecans or substitute them with other add-ins like marshmallows, dried fruits, or even crushed cookies for a nut-free version.
6. How do I ensure my fudge doesn’t turn grainy?
Cook the mixture on low heat and stir constantly to dissolve the sugar fully. Avoid overcooking, as this can cause crystallization, leading to a grainy texture.
7. Can I use a microwave instead of a stovetop?
While a stovetop is recommended for better control, you can use a microwave by heating the ingredients in short intervals and stirring frequently to avoid burning.
8. What type of cocoa powder works best?
Use unsweetened cocoa powder for the best results. Both natural and Dutch-processed cocoa powder work, but Dutch-processed will give a smoother, less acidic taste.
9. Can I store this fudge in the freezer?
Yes, fudge stores well in the freezer. Wrap it tightly in plastic wrap and place it in an airtight container. It can last up to three months.
10. Why isn’t my fudge setting properly?
If your fudge is too soft, it might not have cooked long enough to thicken. Ensure you cook it until it reaches a gentle boil and remove it promptly for a creamy consistency.
This Dairy Queen Cocoa Fudge Recipe is not only easy to make but also delivers on nostalgia and flavor. Perfect for a quick dessert or a gift for loved ones, it’s sure to become a household favorite. Try it out and let us know how it turned out!
Happy Cooking!
Feel free to share your experience with this recipe by trying it out. Don’t forget to drop a comment and provide your feedback on the blog for us to read.
Additionally, You can also like and, follow us on Pinterest, and Reddit for more updates. Your thoughts and engagement are greatly appreciated!


delicious