
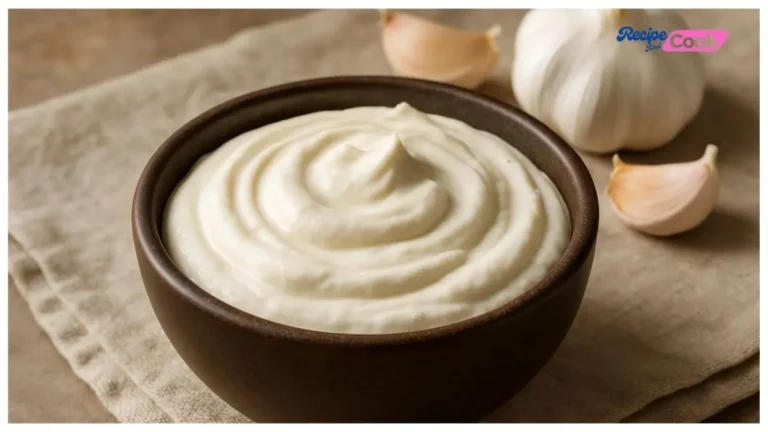
If you’ve ever tasted that creamy, bold garlic sauce from Cava, you know what I’m talking about. It’s smooth, strong, and downright addictive. Well, you don’t need to order out anymore-this homemade Cava garlic sauce recipe brings that same magic straight to your kitchen, like the Cava Tahini Caesar Dressing.
As a Lebanese foodie, garlic is a staple in my meals. This sauce, known as Toum, is a traditional emulsion of garlic, oil, lemon juice, and salt. It might sound simple, but the result is incredible. With just a few ingredients, we’re going to whip up a batch so fluffy and flavorful, you’ll want to slather it on everything.
From Cava Harissa Honey Chicken to shawarma, even sandwiches or Cava Cabbage Slaw-this sauce upgrades everything. And the best part? It lasts in the fridge for months. Let’s make it!
What Does Cava Garlic Sauce Taste Like?
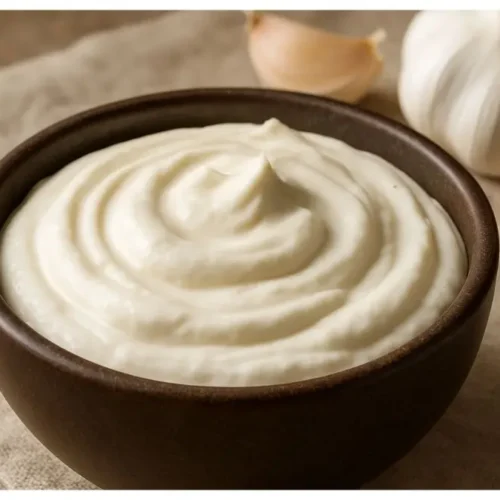
Cava garlic sauce is intense-in the best way. It’s got a bold garlicky bite right up front that mellows into a rich, almost buttery texture thanks to the oil emulsion. If you’re a garlic lover, this is heaven.
The lemon juice adds a fresh tang that balances the richness perfectly. It doesn’t taste oily at all-instead, it’s creamy and light. That airy texture melts on your tongue and brightens up whatever you put it on.
And it’s versatile. Slather it on Cava Spicy Chicken, dip warm pita into it, or mix it into dressings. The flavor is zesty, savory, and powerful without being overpowering the best Mediterranean sauces should be, like Cava Yogurt Dill Dressing.
Ingredients Required for Cava Garlic Sauce Recipe
Here’s the list of Ingredients you’ll need to make this Cava Garlic Dressing
- 1 cup fresh garlic cloves (peeled and sprout removed)
- 3 cups neutral oil (like canola or sunflower oil)
- ½ cup fresh lemon juice
- 2 teaspoons kosher salt (or thick salt)
Kitchen Utensil You’ll Need
- Sharp knife
- Food processor
- Spatula
- Glass storage container
- Paper towel
- Measuring cups and spoons
Prep Time: 10 minutes
Emulsion Process Time: 15 minutes
Total Time: 25 minutes
Yield: About 4 cups of garlic sauce
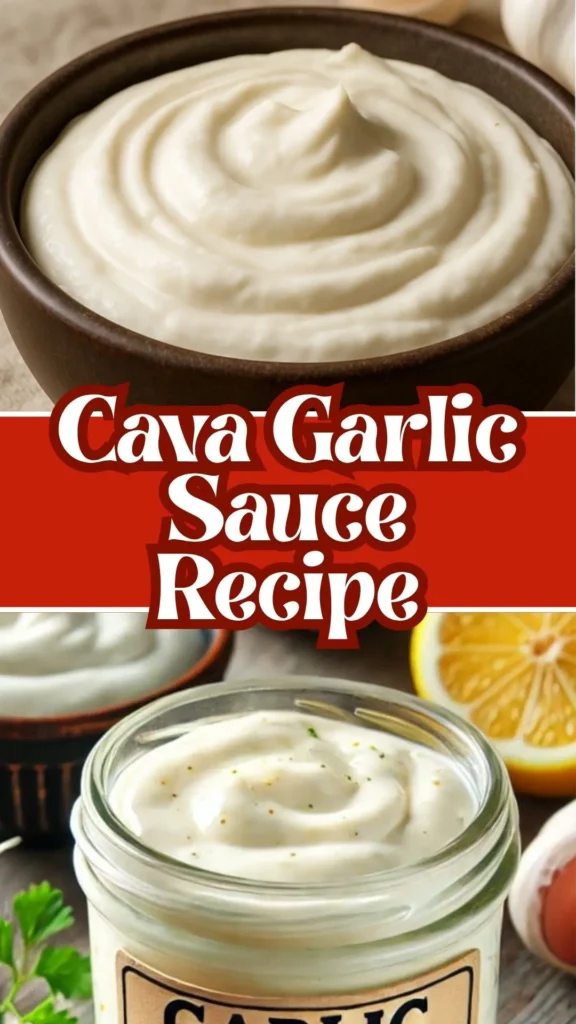
Copycat Cava Garlic Sauce Recipe
Simply follow the steps given below to make your Cava Garlic Dressing at home
1. Prepare the Garlic:
Peel fresh garlic cloves. Slice each clove in half and remove the green sprout in the center (this reduces bitterness).
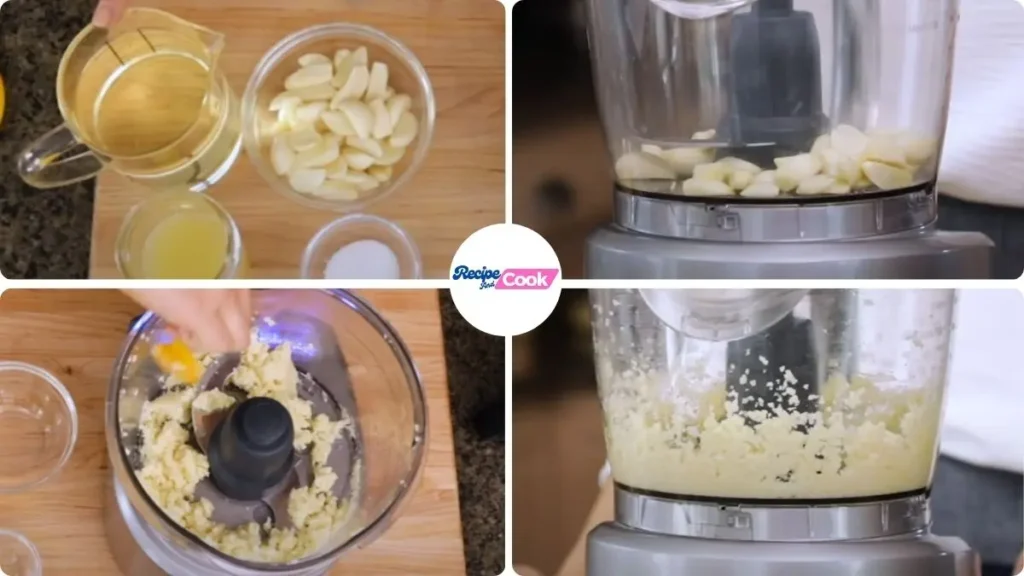
2. Mince the Garlic:
Place the garlic and salt into your food processor. Pulse until finely minced. Scrape down the sides to ensure even texture.
3. Start the Emulsion:
With the food processor running, slowly drizzle in 1–2 tablespoons of oil. Pause, scrape the sides, and repeat with a few more tablespoons. The garlic will begin to turn into a paste.
4. Build the Sauce:
Begin alternating between lemon juice and the rest of the oil-drizzling in slowly with the motor running. Keep scraping and blending for about 15 minutes until a thick, fluffy white sauce forms.
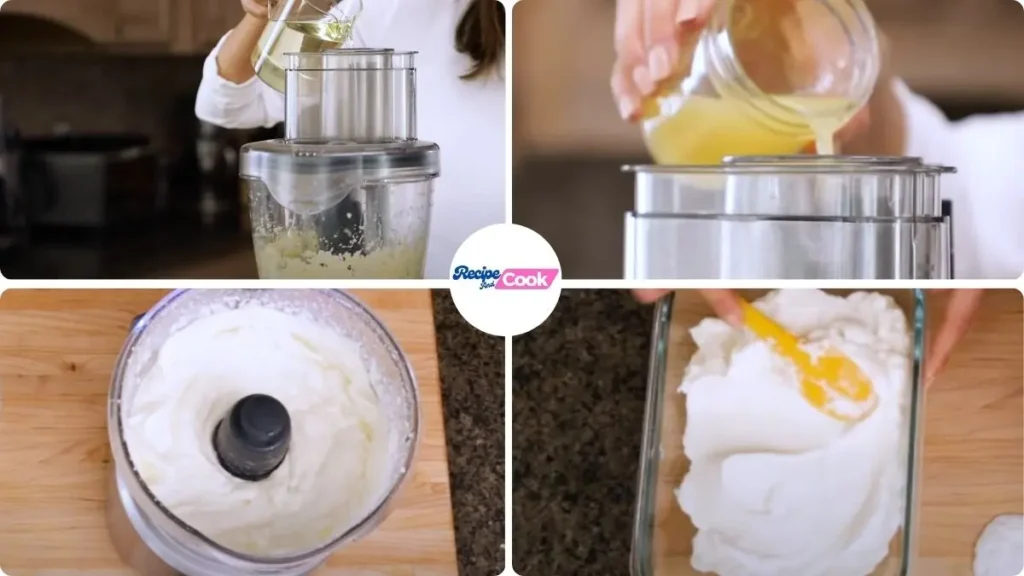
5. Rest and Store:
Transfer the sauce to a glass container. Cover it loosely with a paper towel and let it rest for 24 hours to absorb moisture. Then, seal it with a lid and refrigerate.
Some Tasty Ways To Customize and Pair This Cava Garlic Sauce
1. With Grilled Chicken
This is probably the way we eat it most at home. We grill some juicy chicken thighs or breast, then smear a spoonful of this garlic sauce on top right before serving. It melts into the meat and gives it a whole new life.
2. Inside Shawarma Wraps
We love stuffing pita bread with beef or chicken shawarma, crunchy pickles, tomatoes, and a big dollop of this sauce. It brings that perfect zesty bite that ties all the flavors together-just like the ones you get at a proper Lebanese joint.
3. As a Dip for Fries or Potatoes
Okay, don’t judge us, but we’ve dipped everything from fries to roasted potatoes in this sauce. It’s garlicky, creamy, and so much better than ketchup. Try it once and you’ll never go back.
4. Spread on Sandwiches or Burgers
Anytime we make homemade burgers, this garlic sauce becomes the spread. It adds that restaurant-quality flavor-especially with beef or grilled veggie patties.
5. Alongside Rotisserie Chicken
You know those store-bought rotisserie chickens? We shred the meat, warm it up, and serve it with this sauce on the side. It completely transforms a basic dinner into something crave-worthy.
6. Topping for Grilled Vegetables
We roast or grill zucchini, eggplant, and bell peppers, then drizzle a bit of garlic sauce over them while they’re still hot. It adds richness and depth, especially if you’re serving them with rice or flatbread.
7. Dolloped on Rice Bowls
When we make grain bowls or leftover rice dishes, Cava Pickled Onions and a spoonful of this garlic sauce on top adds creaminess and punch. It pairs especially well with lemony tabbouleh or cucumber salad.
8. Dip for Warm Pita Bread
Sometimes we just keep it simple-tear up some warm pita bread and dip it straight into the sauce. It’s the ultimate snack, appetizer, or midnight bite.
9. With Grilled Seafood
We’ve tried this with grilled shrimp and even salmon-amazing. The garlic cuts through the richness of the seafood without overpowering it.
10. As a Salad Dressing Base
When we’re feeling creative, we thin it out with a splash of lemon juice or water and drizzle it over fresh green salad. It makes a bold and creamy salad dressing that everyone asks about.
Some Tips on This Cava Garlic Sauce Recipe
1. Use fresh garlic.
Old garlic won’t taste good. Make sure your garlic feels firm and not soft.
2. Take out the green sprout.
Cut the garlic in half and pull out the little green part inside. It makes the sauce taste better and not bitter.
3. Use a big food processor.
A big one helps mix everything really well. The small ones can get too full too fast.
4. Go slow with the oil.
Don’t pour the oil too fast! Add a little bit at a time while it’s mixing.
5. Scrape the sides often.
Use a spoon or spatula to push everything down so it blends nicely.
6. Be patient.
It takes time-about 15 minutes-but don’t rush. The magic happens when you go slow.
7. Use a neutral oil.
Don’t use olive oil. Use oil that doesn’t taste strong, like canola or sunflower oil.
8. Keep the lemon juice ready.
Add a little lemon juice in between adding oil. It helps make the sauce fluffy.
9. Rest the sauce overnight.
Let it sit in a jar with a paper towel on top for 1 day before sealing. It helps the sauce thicken.
10. Store it in the fridge.
Put the sauce in a glass jar and keep it in the fridge. It stays good for 3–4 months!
How to Store Cava Garlic Sauce Properly
Store the garlic sauce in an airtight glass container in the fridge for up to 3–4 months. No reheating is needed-just use it cold or bring to room temp for spreading or dipping.
Cava Garlic Sauce Recipe
Ingredients
- 1 cup fresh garlic cloves peeled and sprout removed
- 3 cups neutral oil like canola or sunflower oil
- ½ cup fresh lemon juice
- 2 teaspoons kosher salt or thick salt
Instructions
- Peel fresh garlic cloves. Slice each clove in half and remove the green sprout in the center (this reduces bitterness).
- Place the garlic and salt into your food processor. Pulse until finely minced. Scrape down the sides to ensure even texture.
- With the food processor running, slowly drizzle in 1–2 tablespoons of oil. Pause, scrape the sides, and repeat with a few more tablespoons. The garlic will begin to turn into a paste.
- Begin alternating between lemon juice and the rest of the oil-drizzling in slowly with the motor running. Keep scraping and blending for about 15 minutes until a thick, fluffy white sauce forms.
- Transfer the sauce to a glass container. Cover it loosely with a paper towel and let it rest for 24 hours to absorb moisture. Then, seal it with a lid and refrigerate.
Video
Notes
Common Queries on This Cava Garlic Sauce Recipe
Here, we’ve got you covered with some common questions about the Cava Garlic Sauce that people often ask.
1. What is Cava garlic sauce made of?
Cava garlic sauce is made using just four simple ingredients: fresh garlic, a neutral oil like canola or sunflower, lemon juice, and kosher salt. That’s it! The magic happens during the emulsion process, where those ingredients blend together into a creamy, fluffy sauce. We’ve made this countless times-it’s all about fresh garlic and a little patience.
2. What is the garlic sauce on shawarma?
That creamy white garlic sauce on shawarma is called Toum. It’s a Lebanese garlic sauce made by emulsifying garlic, oil, lemon juice, and salt. It’s bold, tangy, and totally addicting. We use it all the time with grilled meats and wraps-it’s a staple in our house!
3. How to make the perfect garlic sauce?
The key is in the emulsion. You want to slowly drizzle in your oil and lemon juice while the food processor is running, alternating between the two. Don’t rush it! It takes about 15 minutes. Also, make sure to use fresh garlic and remove the green sprout to avoid bitterness. Trust us-this process really works.
4. Is Cava garlic dressing good?
Absolutely-it’s fantastic! It’s creamy, garlicky, and just the right amount of tangy. It’s great as a dip, spread, or dressing. We’ve used it on grilled chicken, roasted veggies, and even sandwiches. Once you taste it, you’ll want to put it on everything too.
5. Can I make this garlic sauce without a food processor?
We honestly wouldn’t recommend it. A food processor is key for breaking down the garlic and properly emulsifying the oil and lemon juice. You need that steady mixing power to get the light, fluffy texture. Hand mixing just doesn’t give the same result.
6. Why does my garlic sauce taste bitter?
That’s likely because the garlic wasn’t fresh, or the green sprout inside the cloves wasn’t removed. From our experience, always check your garlic bulbs before using, and take a moment to remove the sprout from each clove-it makes a big difference in flavor.
7. How long does homemade garlic sauce last in the fridge?
If stored properly in a sealed glass container, it lasts for 3 to 4 months! After making a big batch, we always cover it with a paper towel for the first 24 hours to absorb moisture. After that, it thickens and stays fresh for months.
8. Can I use olive oil instead of neutral oil?
You can, but we don’t recommend it. Olive oil has a strong flavor and can make the sauce taste bitter or heavy. We’ve tried it, and neutral oil like canola or sunflower gives the best texture and cleanest taste.
9. What’s the difference between Toum and aioli?
Good question! Toum is made with garlic, oil, lemon juice, and salt-no eggs. Aioli, on the other hand, is traditionally made with egg yolks and sometimes mustard. So Toum is completely vegan and has a sharper garlic kick.
10. Can I freeze Cava garlic sauce?
Technically, yes-but we don’t recommend it. Freezing can change the texture and break the emulsion. It’s best made fresh and stored in the fridge. Since it lasts months, you really won’t need to freeze it anyway!
This homemade Cava garlic sauce is a game changer-fluffy, flavorful, and absolutely packed with that bold Mediterranean garlic kick. Whether you dip, spread, or mix it, it’ll turn any dish into something special. Try it with grilled meats or pita tonight-you won’t regret it!
Let me know how yours turns out in the comments, and don’t forget to share this recipe with your garlic-loving friends! Feel free to share your experience with this recipe by trying it out. Don’t forget to drop a comment and provide your feedback on the blog for us to read.
Additionally, You can also like and, follow us on Pinterest, and Reddit for more updates. Your thoughts and engagement are greatly appreciated!
Thanks for the simple recipe
Welcome
Looks tangy and delicious
Thanks