
Hey there, bread lovers! If you’re anything like me, the aroma of freshly baked sourdough bread wafting through the kitchen is like a warm hug for the soul. And what better way to achieve that homemade perfection than with a trusty KitchenAid mixer by your side?
In this blog post, we’re diving headfirst into the world of sourdough breadmaking with a twist – a KitchenAid twist, that is! I’ll be sharing my favorite KitchenAid sourdough bread recipe that’s guaranteed to elevate your baking game.
From mixing the tangy starter to kneading the dough to golden-brown perfection, we’ll walk through each step together, ensuring that even novice bakers can master this timeless art.
So, dust off your apron, preheat your oven, and get ready to embark on a delicious journey to homemade sourdough bliss with your KitchenAid mixer as your trusty companion!
What is Sourdough Bread?
Sourdough bread is made using a fermented starter instead of commercial yeast. This starter contains wild yeasts and bacteria that give sourdough its sour flavor. The long fermentation time allows complex flavors to develop in the dough.
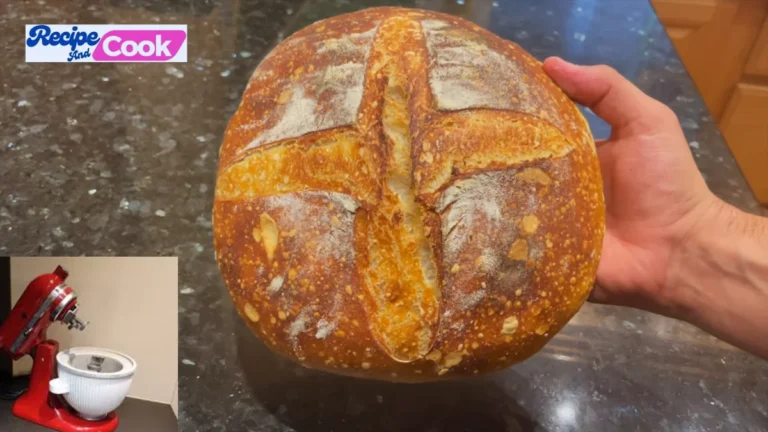
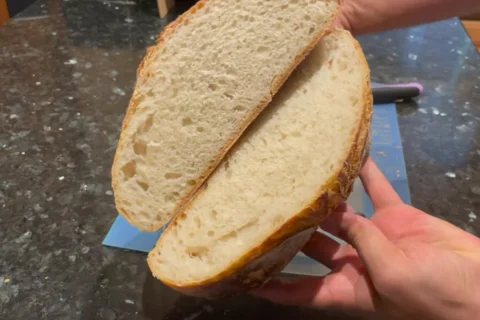
Authentic sourdough has a chewy, open crumb and a thick, crunchy crust. The crust gets its dark brown color from the Maillard reaction, which occurs during the high heat of baking. This caramelization of natural sugars in the dough produces a multitude of nutty, toasted flavors.
How to Make KitchenAid Sourdough Bread?
Making your own sourdough bread requires patience but is incredibly rewarding. With just flour, water, salt, and your sourdough starter, you can create bakery-quality loaves at home.
Prep Time: 10 minutes | Cook Time: 55 minutes | Rise Time: 16-20 hours (for starter and dough rising) | Total Time: 17-21 hours | Serving Size: Makes 1 large loaf, about 12 slices | Calories: 150 Kcal
Ingredients
- 25 grams sourdough starter
- 50 grams room temperature water
- 50 grams bread flour
- 275 grams water (1.25 cups)
- 10 grams kosher salt (1.5 teaspoons)
- 100 grams active sourdough starter (about 1/3 cup)
- 450 grams bread flour (about 4 cups)
Kitchen Appliances Needed
To make this KitchenAid Sourdough Bread Recipe, you will need:
- Stand mixer: A heavy-duty stand mixer with a dough hook makes kneading the dough effortless. Models like the KitchenAid Artisan Stand Mixer work great.
- Dutch oven: Baking the bread in a Dutch oven helps create the signature crust and oven spring. A 5-6 quart cast iron or enameled Dutch oven works perfectly.
- Banneton/proofing basket: A banneton gives the dough a nice shape while proofing. A fabric-lined bowl dusted with rice flour can also work.
- Parchment paper: Parchment lines the Dutch oven for easy transfer of dough into the preheated pot.
- Bread knife: A serrated bread knife helps score the dough before baking and slice the crusty loaf cleanly after.
Step-by-Step Instructions
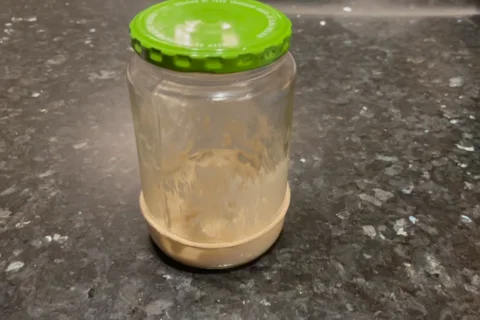
Step 1. Feed Your Starter
Take 25 grams of sourdough starter. Add 50 grams of room temperature water, stirring until dissolved. Mix in 50 grams of bread flour. Let it sit on the counter overnight for about 8 hours until it doubles in size.
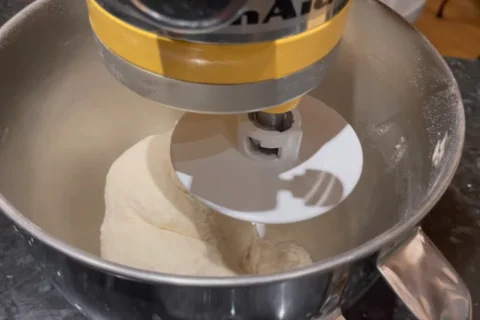
Step 2. Prepare Dough in Stand Mixer
In a KitchenAid stand mixer bowl, combine 275 grams of water, 10 grams of kosher salt, 100 grams of active sourdough starter, and 450 grams of bread flour.
Mix on the lowest setting until the ingredients incorporate. Increase the speed to the second setting and knead for about 8 minutes until fully kneaded.
Step 3. First Rise
Scrape down the sides of the bowl, cover the dough, and let it rise at room temperature for 5-8 hours until it doubles in size.
Step 4. Shape the Dough
Sprinkle flour on the counter and transfer the dough onto it. Fold each corner of the dough to the middle, creating a log shape. Gently round the dough into a ball, cupping and pulling to create surface tension.
Step 5. Final Proof
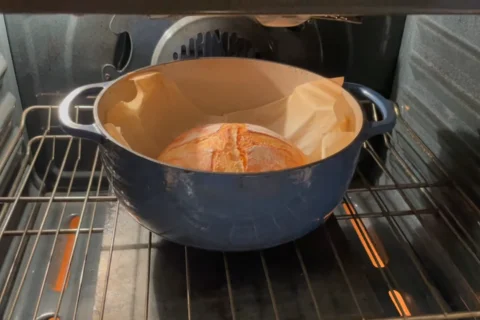
Transfer the dough onto parchment paper and place it in a Dutch oven. Let it rise for about 3 hours until doubled in size.
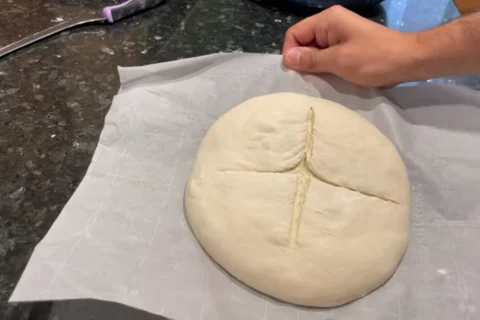
Step 6. Score and Bake
Score the dough with a bread knife in an X pattern. Place the Dutch oven in a non-preheated oven, set to 500°F (260°C). Bake for 50 minutes with the lid on. Remove the lid, bake for an additional 5 minutes at 500°F (260°C) to achieve a golden brown color.
Step 7. Cool and Enjoy
Transfer the baked loaf to a wire rack and cool for about an hour. Slice and enjoy the easy and delicious artisan-style KitchenAid Sourdough Bread Recipe!
Special Notes
- Use an established, mature sourdough starter that is active and doubles in size. An immature starter can result in poor rise and flavor.
- Allow for plenty of rise time. Do not rush the bulk fermentation or proofing stages. This allows the sourdough flavor to fully develop.
- Score decorative designs on top for an artisan bakery look. Score at least 1/4 inch deep.
- Check your oven temperature with an oven thermometer for accuracy. Proper baking is key for the ideal crust and crumb texture.
Ingredient Substitutions
- For a whole wheat version, replace up to half the bread flour with whole wheat flour.
- Add nuts, seeds, or dried fruit after kneading for a twisted loaf.
- Substitute bread flour with all-purpose flour, adjusting water as needed.
Troubleshooting Common Problems
My sourdough starter isn’t rising:
- Check that equal amounts of flour and water were used when feeding it.
- Ensure the starter is kept at room temperature, not too hot or cold.
- Discard some and refresh with new flour/water if overripe with no activity.
The dough isn’t rising:
- Yeast needs food, so ensure the starter is fed and active.
- Create a warm environment for the dough to rise in.
- Allow adequate time for the dough to rise and proof fully.
The bread is dense and gummy:
- Knead the dough sufficiently to develop the gluten structure.
- Let it proof fully before baking to allow proper rising.
- Ensure oven temperature is hot enough when baking.
The crust is too hard/tough:
- Bake at slightly lower temp at 450°F if crust is too thick.
- Immediately wrap baked loaf in a kitchen towel to soften crust.
The bottom is burnt:
- Place loaf on a thicker baking sheet instead of directly on the Dutch oven surface.
- Lower oven rack one level and decrease baking temp slightly.
Serving Suggestions
- Serve slices with butter, olive oil, jam, or avocado spread.
- Make sandwiches with sliced sourdough bread, fillings like ham and cheese.
- Dip pieces of torn bread in oil and vinegar for an appetizer.
- Make French toast or bread pudding with any leftover sourdough.
Storing and Reheating
- Allow the bread to cool completely before storing.
- Keep leftover sourdough bread at room temperature wrapped in a kitchen towel for up to 5 days.
- For extended storage, wrap tightly in plastic wrap and freeze for up to 3 months.
- To reheat, place frozen slices or loaf on a baking sheet in a 350°F oven for 10 minutes. Microwave individual slices for 20-30 seconds.
Frequently Asked Questions About KitchenAid Sourdough Bread Recipe
What is the best flour to use?
Bread flour has a higher protein content which gives sourdough bread its chewy texture and good rise. All-purpose flour can be substituted but may produce a denser crumb.
Can the dough be kneaded by hand?
Yes, you can knead the dough by hand on a lightly floured surface for about 10-15 minutes instead of using a stand mixer.
What if the dough doesn’t rise well?
The starter may be too weak or inactive. Try discarding some and feeding it to boost the yeast before trying again. Check that your kitchen isn’t too cold.
Why does my bread have large air pockets?
Over-proofing can cause air pockets. Try reducing the proofing time by 1-2 hours next time.
How do I get a thicker, chewier crust?
Baking in a preheated Dutch oven at a high temperature will help produce a nice crust. Spraying water into the oven creates steam for crust development too.
Conclusion
Making your own artisan-style sourdough bread at home is immensely satisfying and delivers incredible flavor. With an actively fed sourdough starter, high quality ingredients, and the right kitchen tools like a KitchenAid stand mixer and Dutch oven, anyone can achieve bakery-worthy results. Allowing plenty of time for the dough to ferment and proof is crucial.
Follow the instructions for kneading, shaping, and baking covered for the perfect sourdough loaf with a crackly crust and airy, open crumb. Slice into your fresh homemade KitchenAid Sourdough Bread Recipe and enjoy it simply with butter or elevate any meal by serving it warm from the oven.
Feel free to share your experience with this recipe by trying it out. Don’t forget to drop a comment and provide your feedback on the blog for us to read.
Additionally, You can also like and, follow us on Pinterest, and Reddit for more updates. Your thoughts and engagement are greatly appreciated!
2 comments